- Importance of Providing Proper Heat for Chicks In the Brooder
- Our Brooder Setup
- Pros and Cons of Using a Heating Lamp
- Pros and Cons of Using a Heating Plate
- Factors to Consider When Choosing Between a Heating Lamp and a Heating Plate
- Best Practices for Brooder Heat Management
- Recommended Chick Brooder Heating Plates and Lamps
- Final Thoughts
Providing chicks with the right amount of heat in the brooder box is a crucial aspect of helping them thrive.
In this article, we’ll explore the pros and cons of using two common heat sources: heating lamps and heating plates. These tools play a critical role in maintaining the optimal ambient temperature for your chicks, ensuring their comfort and healthy growth.
Heating lamps and heating plates both have their advantages and disadvantages, and understanding these pros and cons will help you make an informed decision for your brooder setup.
Some of the factors discussed below are safety, energy efficiency, heat distribution, and mimicking natural conditions. But we’ll also touch on considerations specific to your homesteading needs, such as cost and availability.
Importance of Providing Proper Heat for Chicks In the Brooder
The first few weeks of a chick’s life are critical for its survival and growth. Chicks are unable to regulate their body temperature effectively, so they require a reliable external heat source in the brooder.
Adequate heat helps prevent hypothermia and related illnesses, but it also promotes healthy growth and development — which is crucial for raising productive egg layers or meat birds.
As a homesteader, maintaining an optimal temperature in your brooder (gradually decreasing by about 5 degrees Fahrenheit per week, from a starting temperature of around 95° Fahrenheit in the first week) enables your chicks to thrive.
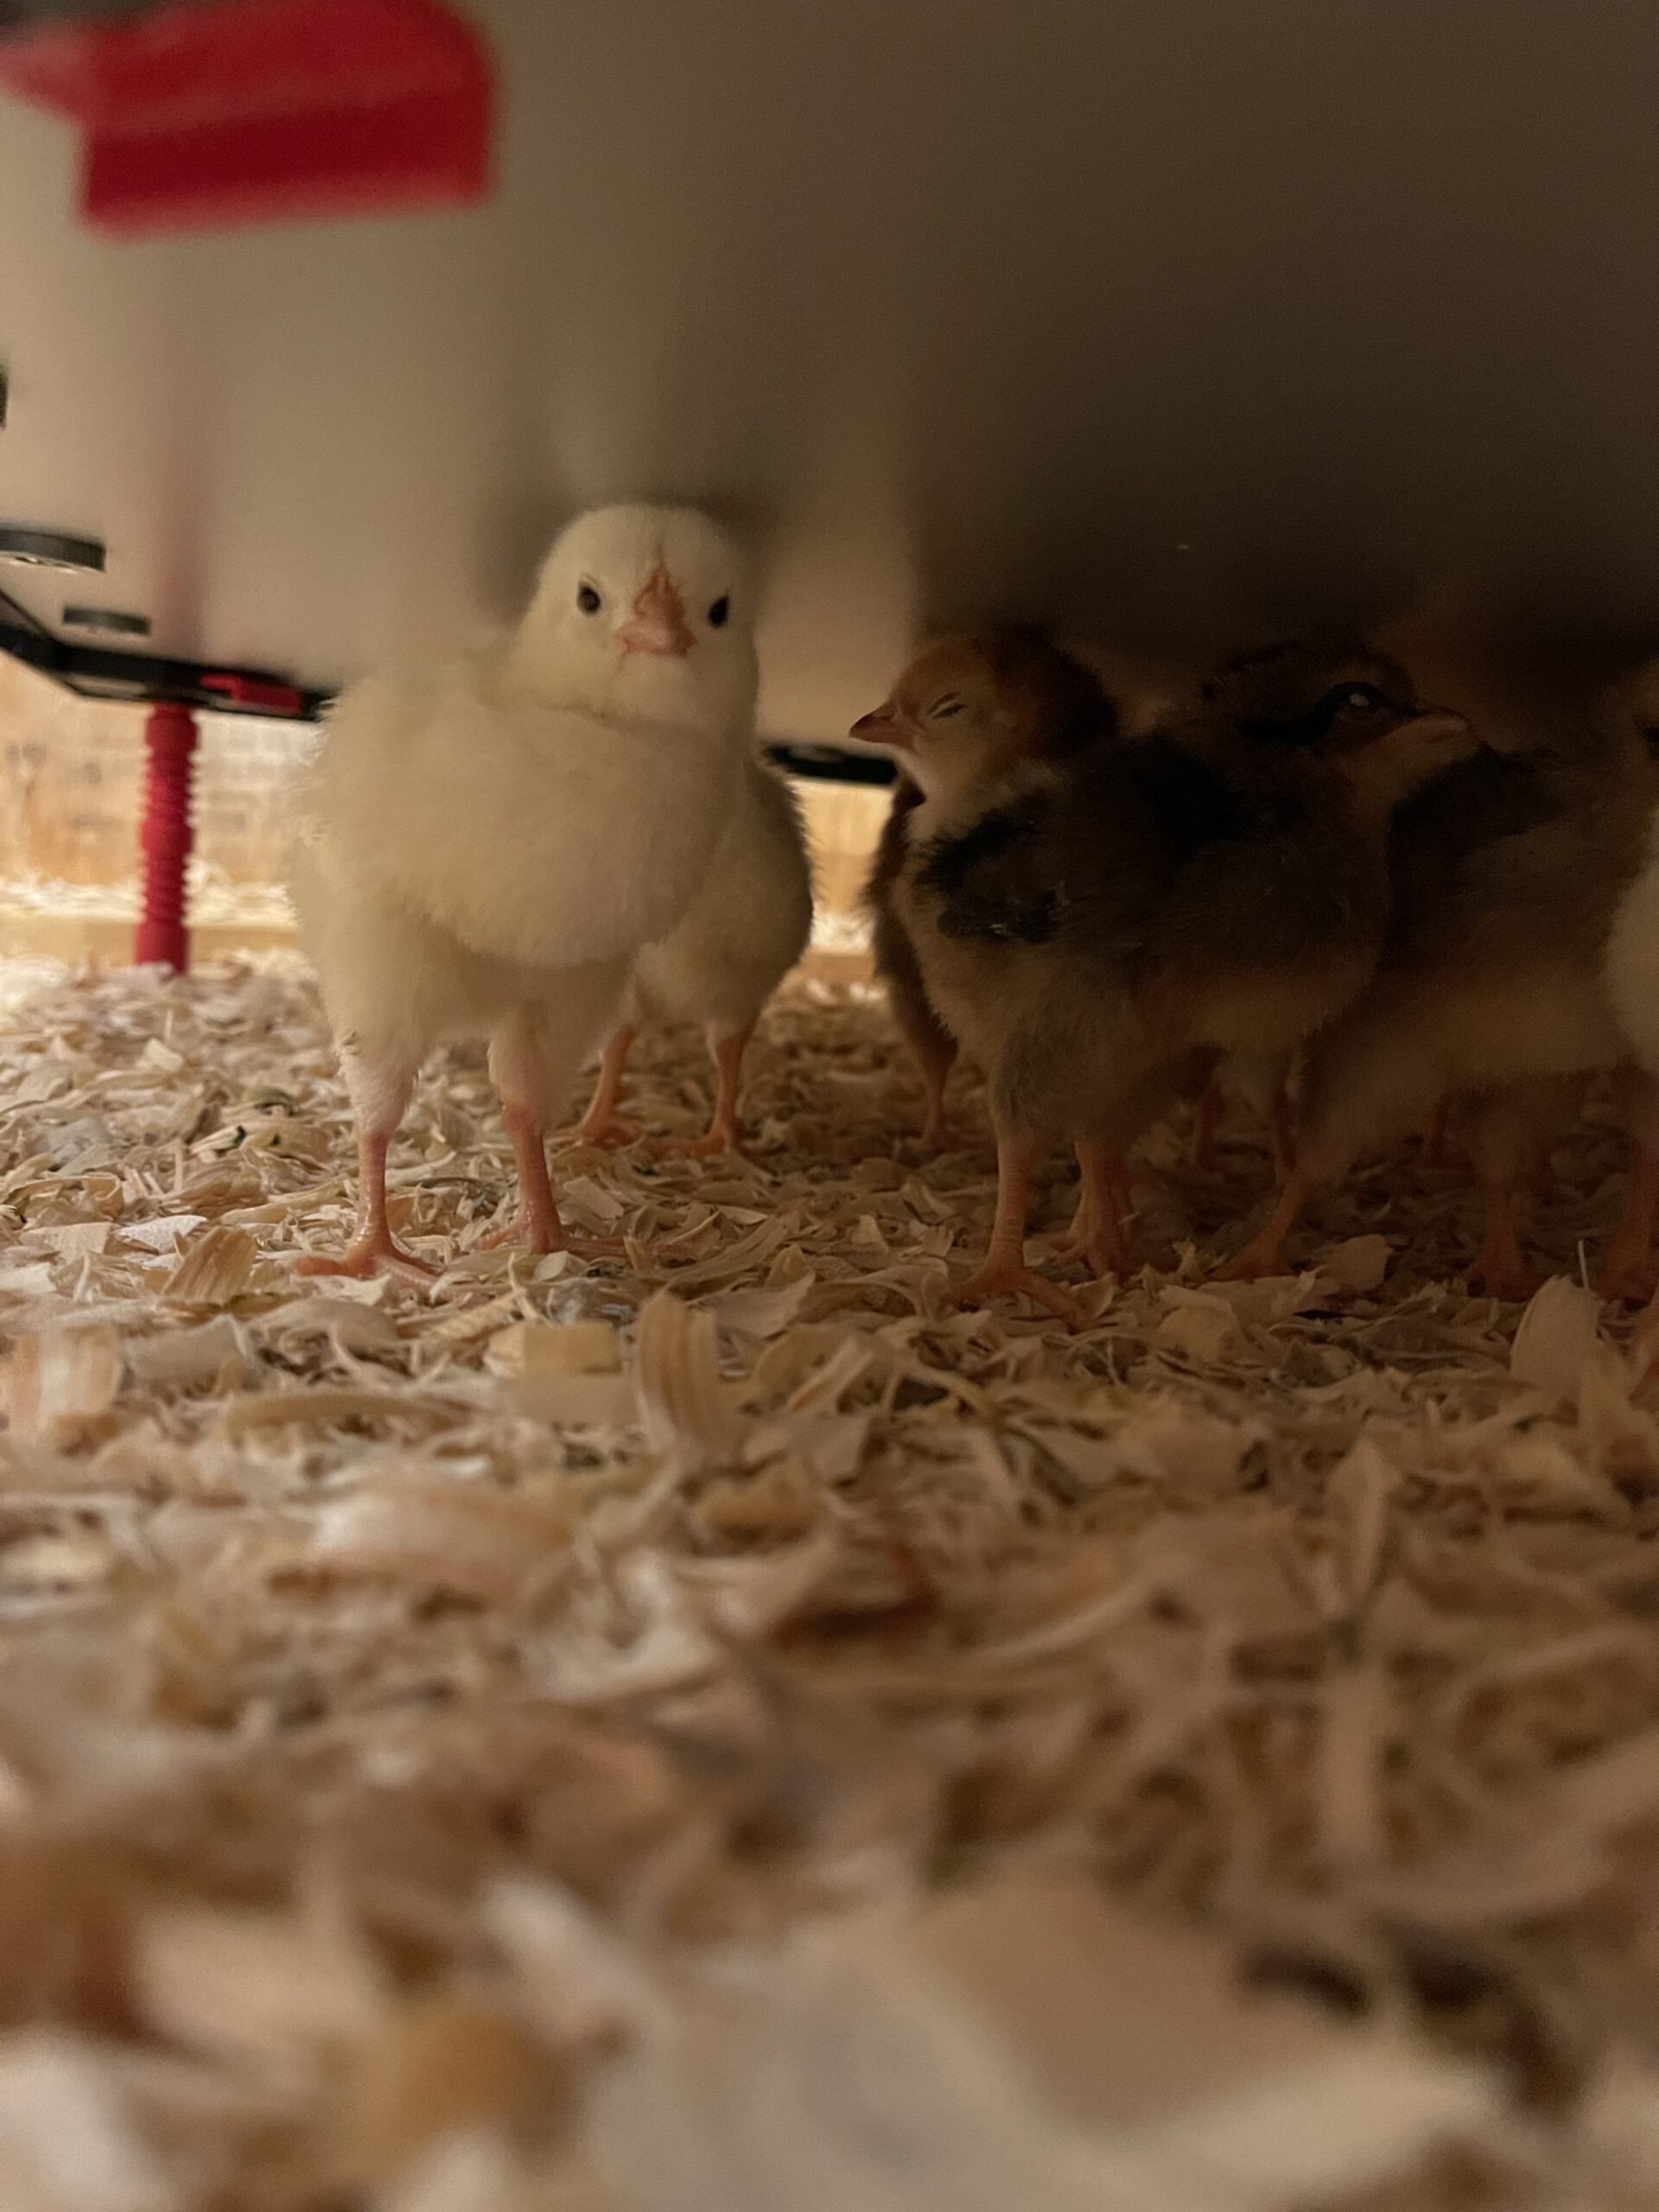
Our Brooder Setup
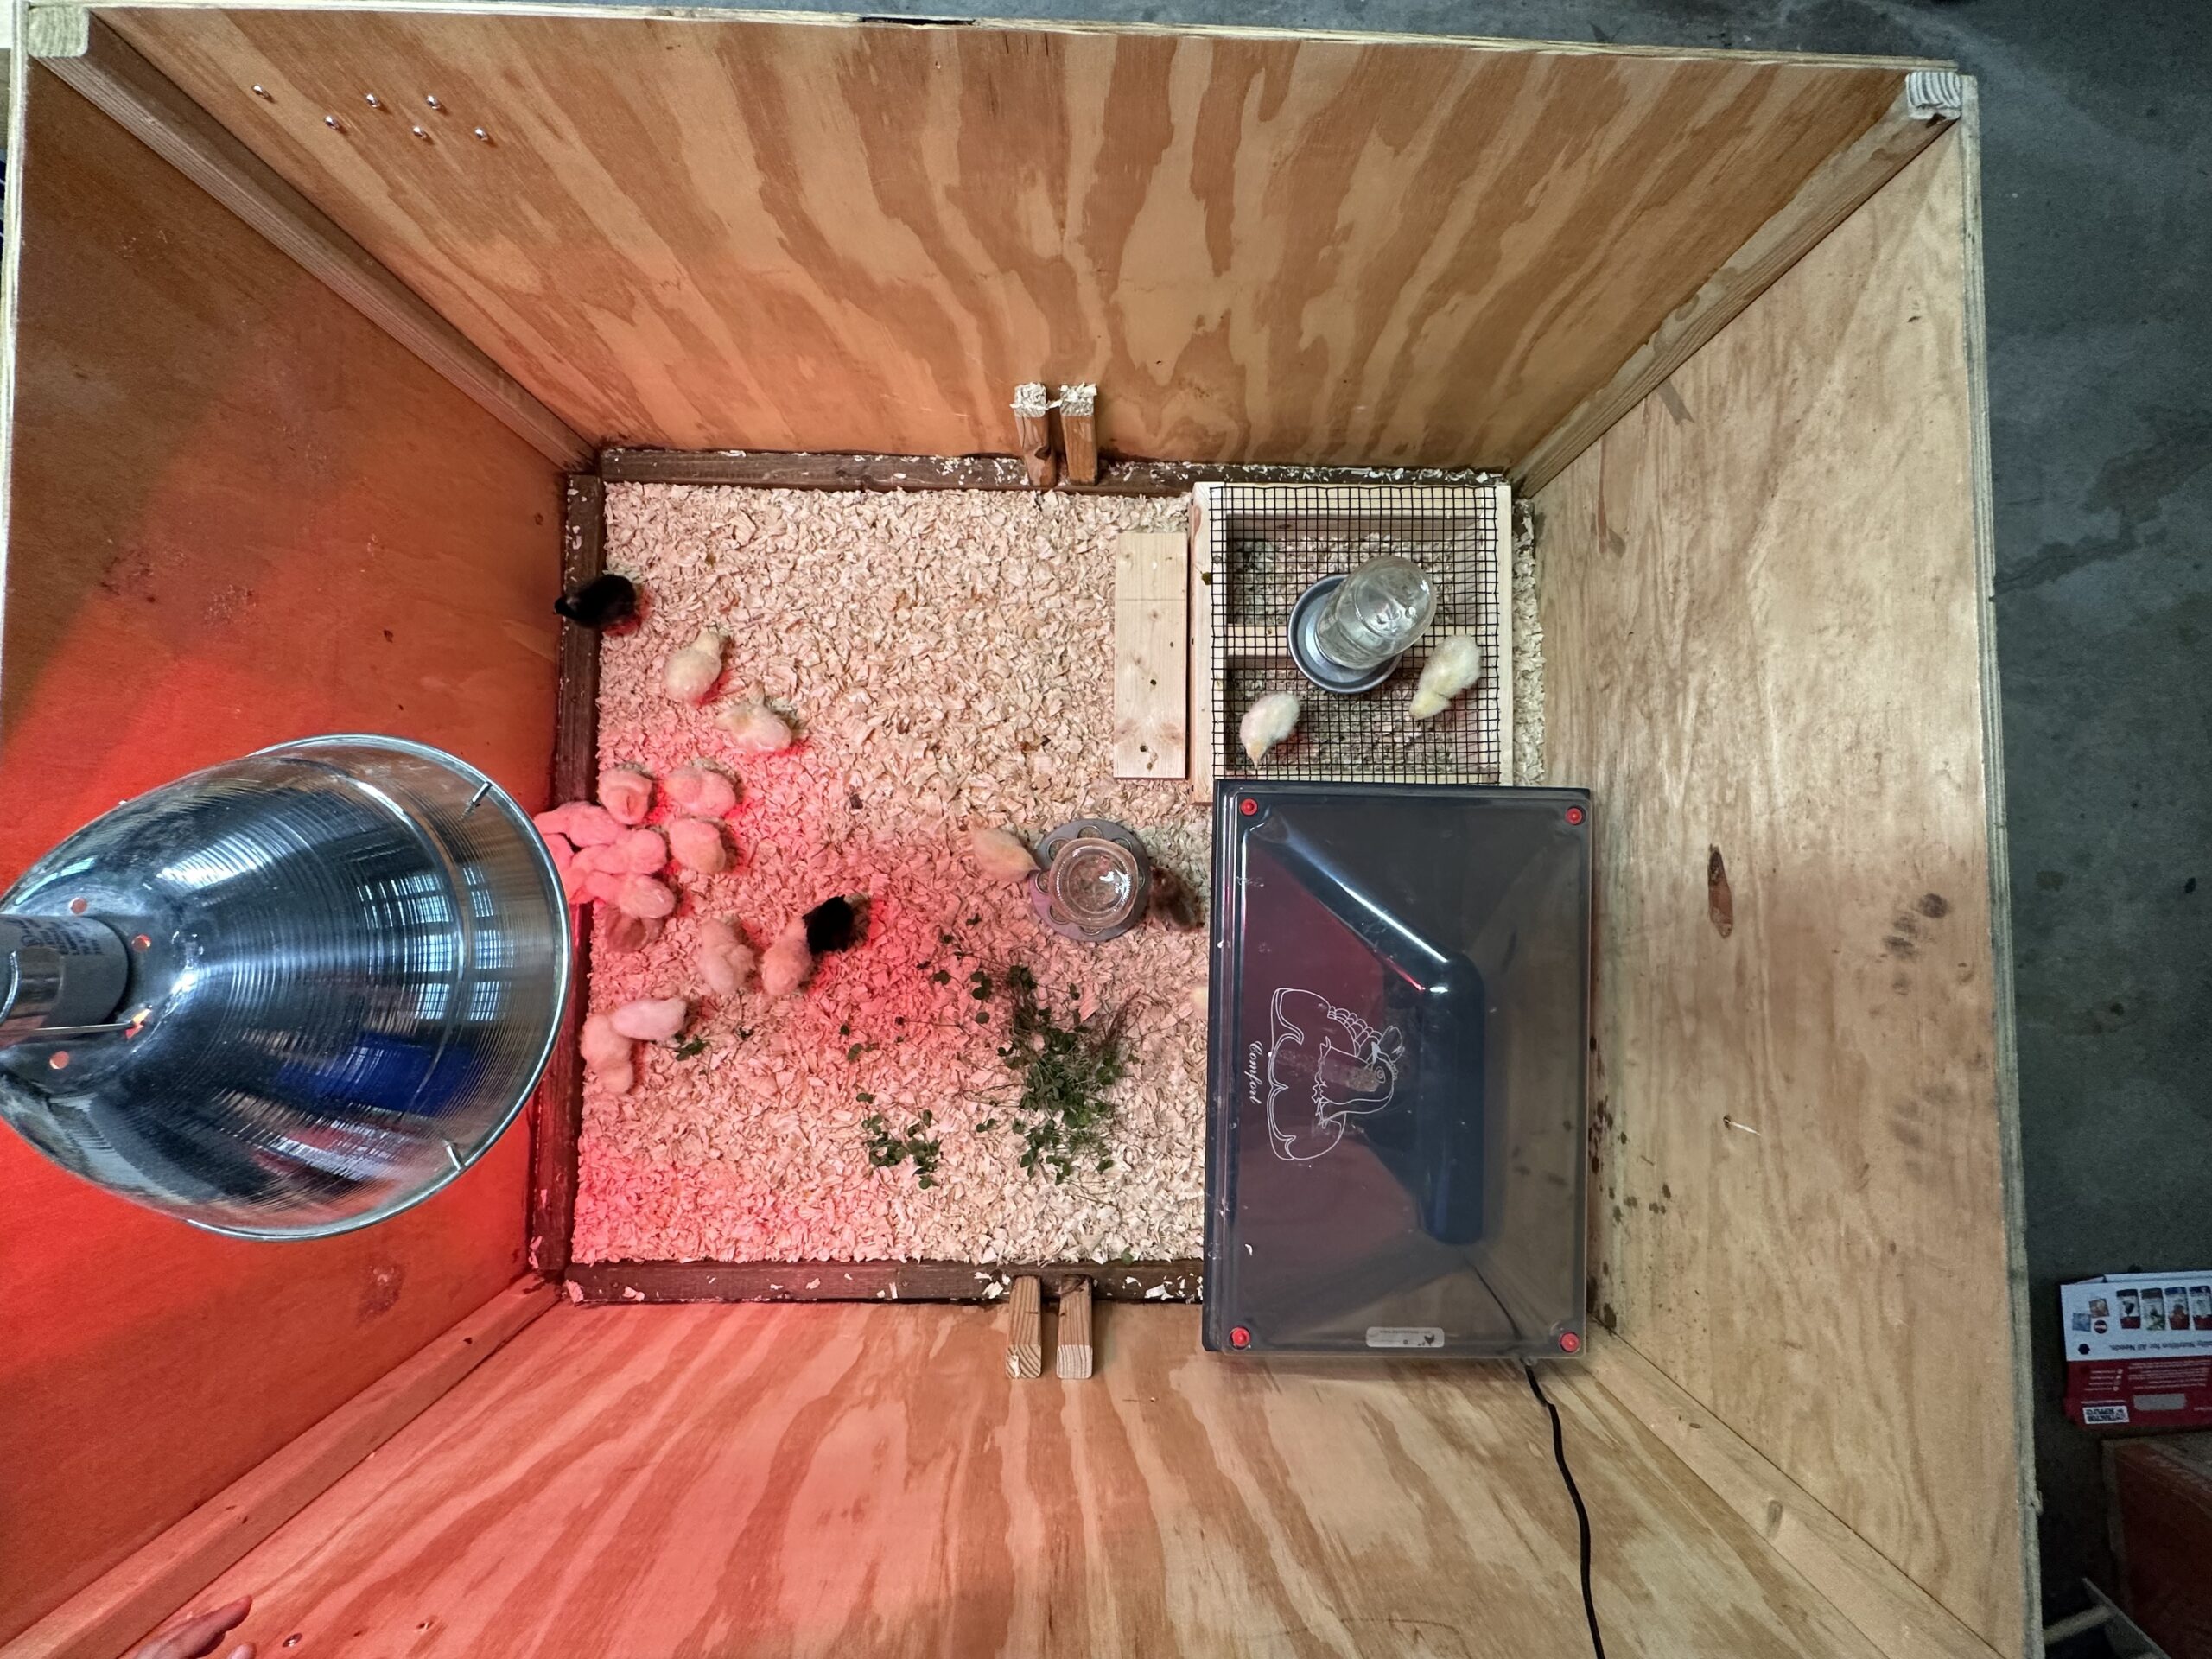
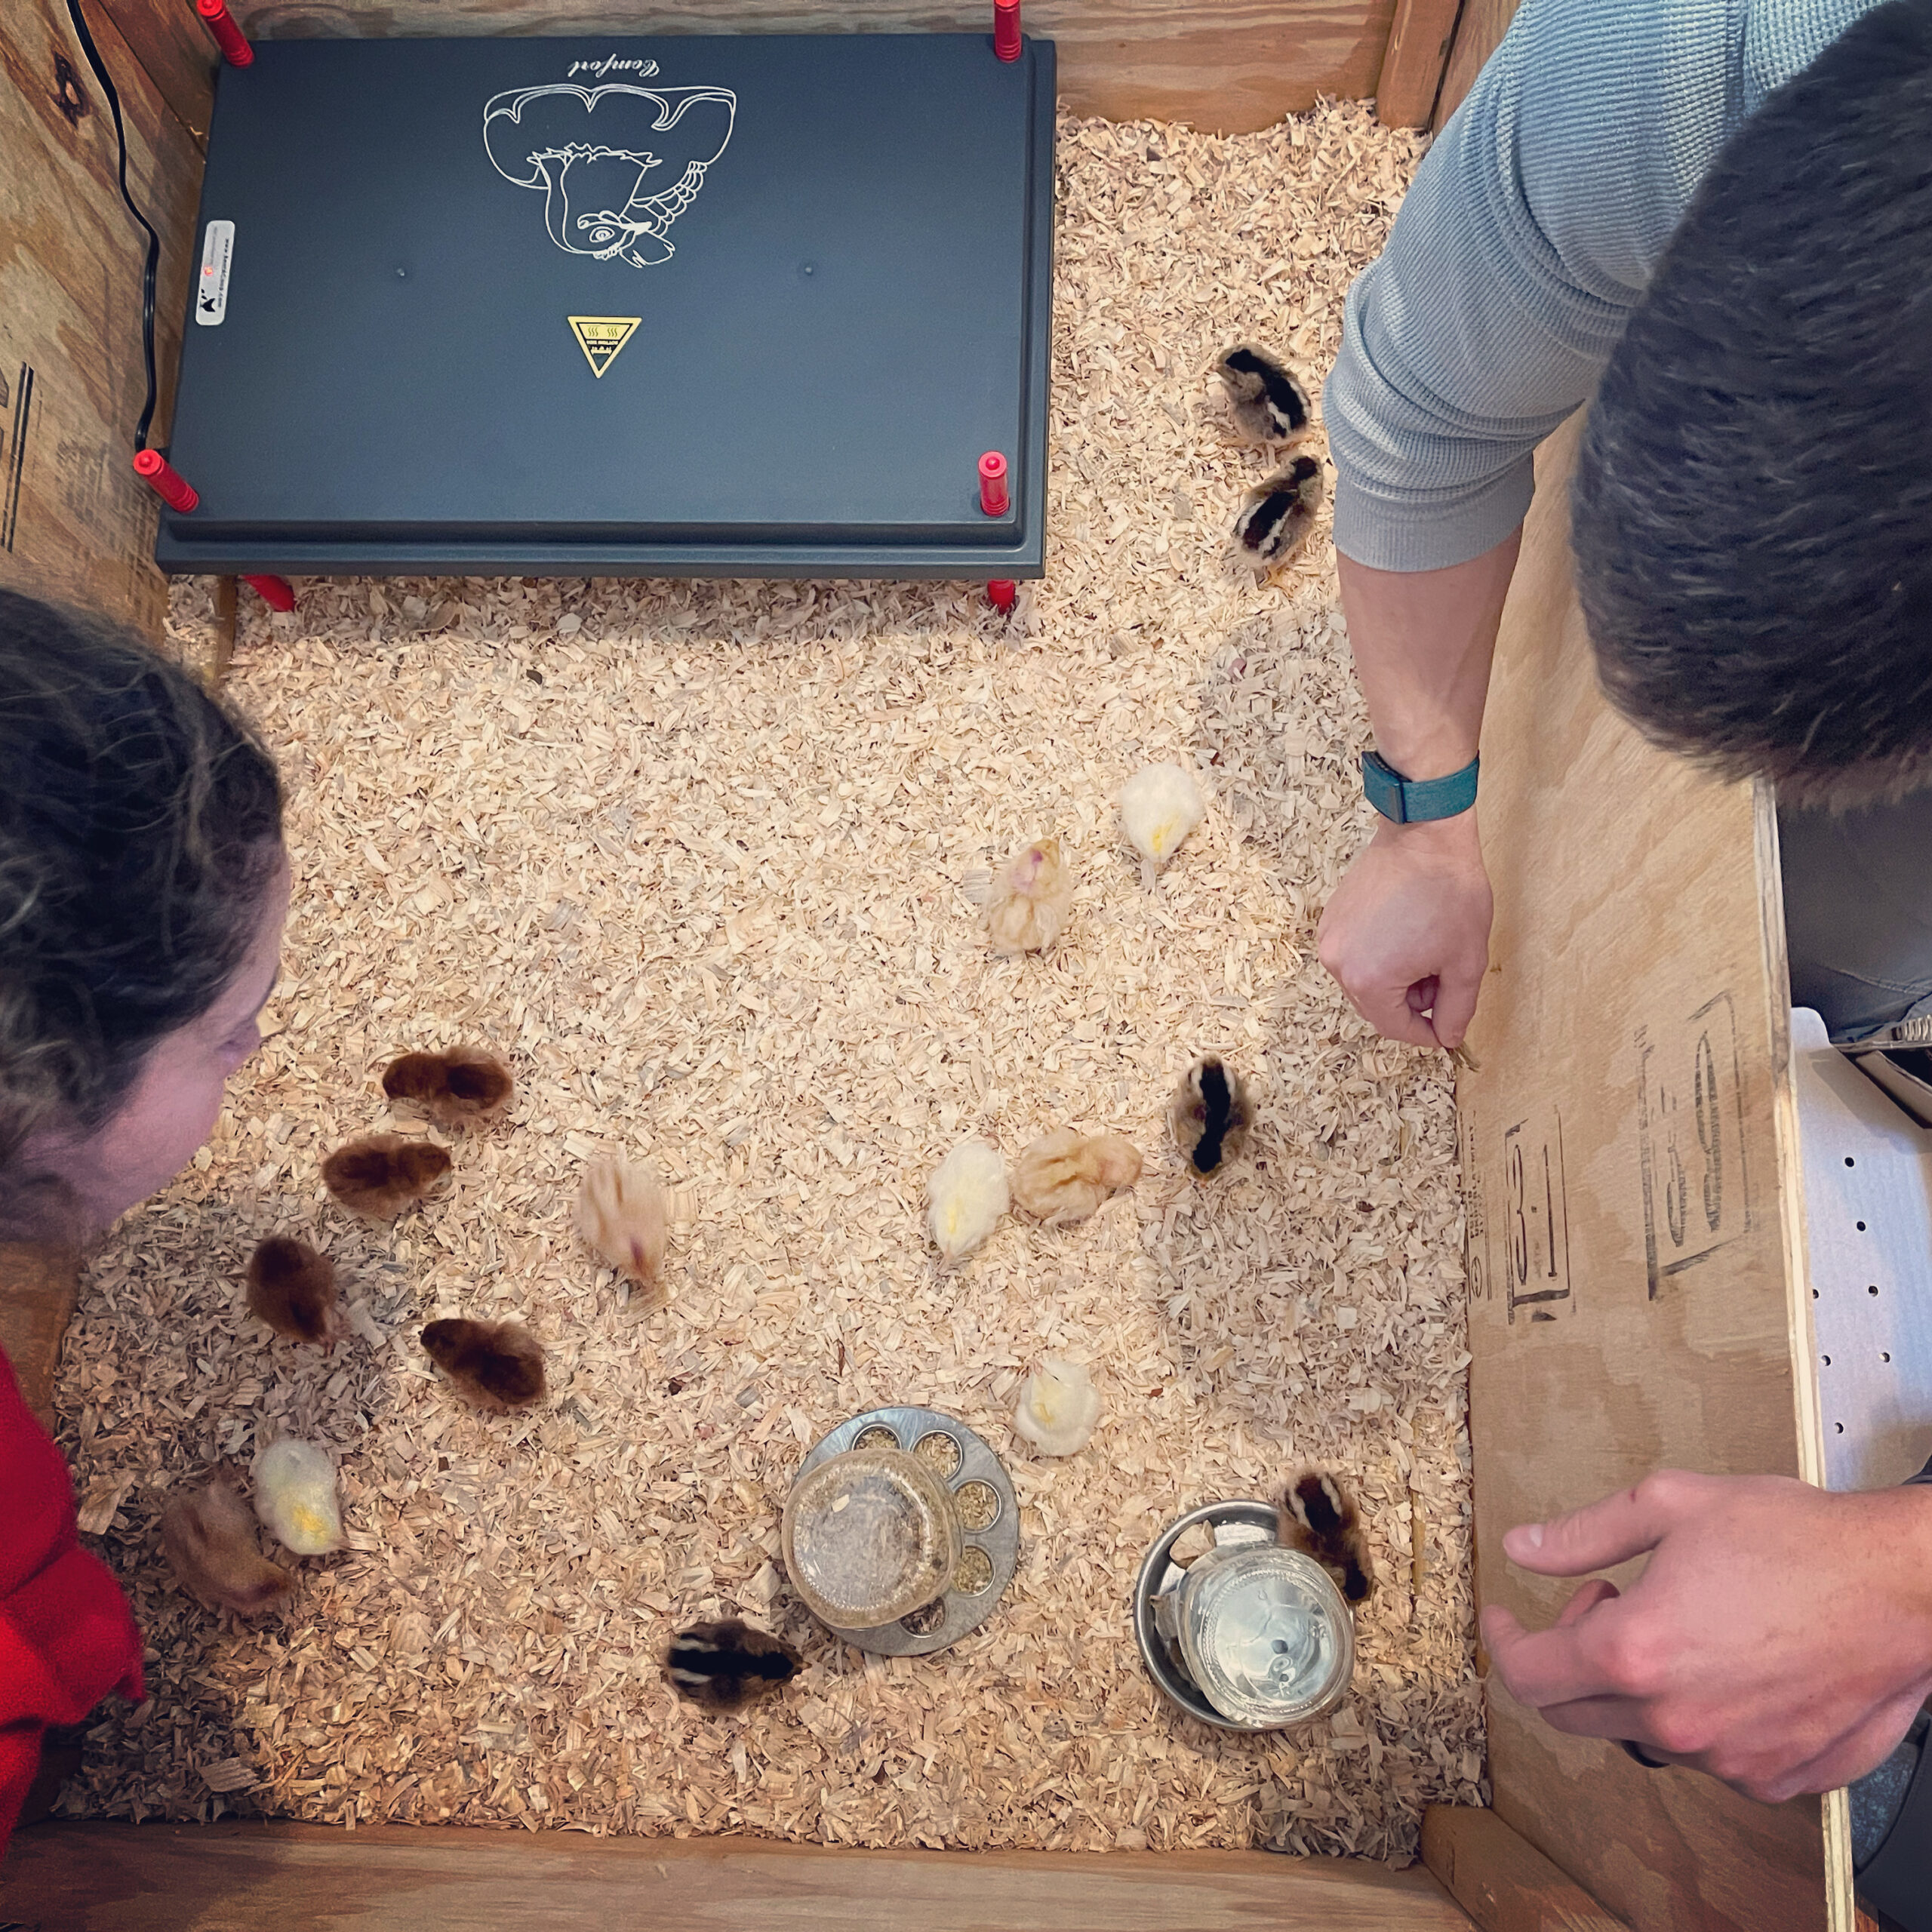
Here at the Kummer Homestead, we use a combination of heating plates and lamps for several reasons. On one hand, we like heating plates because of how easy they are to use without introducing a potential fire hazard. However, we also like to be able to observe the chicks during the first 48 hours of life (so that we can step in and help chicks that may be struggling).
When we raised our first batch of chicks, one of them fell ill and ultimately died. Unfortunately, we didn’t notice until it was too late because she had stayed under the heating plate and out of sight.
That’s why we usually start with two heating lamps for the first week. One lamp has a regular (daylight) heat lamp bulb, and the other one has an infrared bulb for the night. If you want to be fancy, you can use a timer so they turn on and off automatically with sunrise and sunset.
After the first 48 hours, we switch to a heating plate with adjustable feet (so that we can set the plate at an angle to allow chicks to move back and forth based on how much heat they require).
The last thing we should mention is that we invested in a heating plate cover that prevents the chicks from jumping on (and pooping on) the top of the plate. Having a cover made cleaning the brooder and its accessories much easier and less time-consuming.
Pros and Cons of Using a Heating Lamp

Heating lamps offer advantages such as wide availability, adjustable height for temperature control, and easy setup. However, there are drawbacks to consider, including fire hazards, uneven heat distribution, potential heat stress, and high energy consumption.
Pros of Using a Heating Lamp
- Wide availability and affordability. You can find heating lamps for a reasonable price in most farm supply stores (e.g., Tractor Supply) and pet stores. So if your bulb burns out, you can find a replacement quickly before your chicks get too cold. When we realized we wanted an infrared bulb to use at night, we found one at a local PetSmart, just minutes from our homestead.
- Adjustable height for temperature control. Most heat lamps come with a clamp and a hook that allows you to attach them directly to the brooder or a stand. If you use a stand, it’s easy to change the distance between the light source and the bottom of the brooder to control the temperature. If you clamp the lamp to a wall of the brooder, you can adjust the light angle to control the temperature.
- Wide coverage area. A heating lamp can provide warmth to a larger space (depending on the distance of the bulb to the bottom of the brooder and the angle of the lamp), accommodating a greater number of chicks.
- Easy setup and maintenance. Setting up a heating lamp in the brooder is relatively simple, and they require minimal maintenance. In most cases, you can simply clamp the lamp to the side wall of your brooder and leave it there until the chicks are ready to move to the coop.
Cons of Using a Heating Lamp
- Fire hazard and safety concerns. Heating lamps emit intense heat, posing a fire risk if not used with caution. That’s why we recommend investing in a separate bar clamp to make sure the lamp is securely attached to your brooder, or attaching a chain to the hook some lamps come with to prevent the lamp from falling into the brooder in case the clamp loosens.
- Uneven heat distribution. The heat generated by a heating lamp tends to concentrate directly beneath it, resulting in uneven temperature distribution within the brooder. Chicks closer to the lamp may experience higher temperatures than those farther away.
- Overheating and potential for heat stress. Chicks may unintentionally expose themselves to excessive heat by lingering too close to the lamp. This can lead to heat stress, dehydration, or even death if not carefully monitored.
- High energy consumption. Heating lamps can consume significant amounts of energy, resulting in higher electricity costs. It’s essential to consider long-term energy usage and its impact on your homesteading budget. For context, a typical heat lamp uses 150 to 250 watts, whereas a heating plate uses about 15 watts. A lamp using 250 watts requires 252 kilowatts over the course of six weeks. Here in Georgia where energy prices are relatively low, that lamp costs us about $8 to operate.
- You might need a second bulb. Using a regular bulb overnight will disrupt your chicks’ natural sleep and wake cycle. That’s why we recommend getting an infrared heating bulb for use overnight. Investing in a second bulb (or even in a second lamp assembly to avoid having to switch bulbs every day) can double the price of your heat source. If you decide on using two lamps, I highly recommend investing in a good stand so you can install the lamps once and leave them there without having to mess with them twice a day.
- Difficulty when using a brooder cover. We usually cover our brooder with a lid made with a wooden frame and mesh wire to prevent pets and critters from getting in. We used to have the brooder inside the house, but with a cat present, we had to prevent him from getting in. This year, we kept the brooder in the garage, but since there is a chance of rats or snakes getting in, we had to cover the brooder again. The problem is that the lid makes it virtually impossible to clamp the heating lamp to the brooder wall. But even with a stand, the mesh wire would be too close to the heat source, thus posing a potential fire hazard. If you don’t use a lid on your brooder, you won’t have to worry about that.
Pros and Cons of Using a Heating Plate
A heating plate is a modern and increasingly popular device that many homesteaders are now turning to when brooding their chicks. Much like a mother hen, a heating plate provides a warm shelter for chicks to huddle under when they feel cold.
Pros of Using a Heating Plate
- Mimics a mother hen’s warmth. A heating plate provides evenly-distributed warmth from above, similar to how a broody hen would warm her chicks. This promotes a more natural and comfortable environment for the chicks, fostering a sense of security and familiarity.
- Even heat distribution. Chicks can freely move under the plate, allowing for uniform heat distribution.
- Safe and reliable heat source: Unlike heating lamps (which operate at much higher temperatures), heating plates leverage radiant heat that poses a significantly lower risk of fire, making them a safer choice for your brooder. They provide a consistent and reliable source of warmth that can be easily regulated to prevent overheating.
- Promotes natural behavior and healthy development. By mimicking the warmth of a mama hen, heating plates encourage chicks to follow their natural instincts. They’ll retreat under the plate when they’re cold and venture out when they’re warm enough. This promotes healthier, more active chicks and contributes to their overall development.
- Energy-efficient. Heating plates consume less electricity compared to heating lamps because they operate at lower temperatures and have less wattage. They’re insulated to prevent heat loss, ensuring that most of the energy is directed towards warming your chicks (which can result in lower electricity costs over time).
- Doesn’t disrupt your chicks’ natural sleep/wake cycle. Heating plates don’t emit light, so they don’t disrupt your chicks’ natural sleep/wake cycle like regular heating lamps do.
Cons of Using a Heating Plate
- Higher initial cost. Heating plates typically cost more than heating lamps. While they can be more cost-effective in the long run due to lower energy consumption, the initial investment may be a deterrent for some homesteaders.
- Limited availability compared to heating lamps. While gaining in popularity, heating plates are not as widely available as heating lamps. You might need to order them online or travel to a specialized poultry supply or farm store to purchase one.
- Requires proper adjustment and monitoring. While heating plates are generally easy to use, they do require regular adjustments as your chicks grow. The height of the plate must be monitored and adjusted to ensure it remains at an optimal level above the chicks.
- Potential for chicks to outgrow the plate’s size. As your chicks grow, they may begin to outgrow the heating plate, especially if you have a larger flock. In this case, you may need to invest in a second plate or switch to a different heating method.
- Limited space. Depending on their size, heating plates may have a smaller coverage area and may not accommodate as many chicks.
Factors to Consider When Choosing Between a Heating Lamp and a Heating Plate
1. Climate and environmental conditions
If you live in a colder region or experience extreme temperature variations, a heating lamp may be more suitable as it provides direct and concentrated heat. However, if the climate is relatively mild, or you can maintain a stable temperature in the brooder, a heating plate may be a better option.
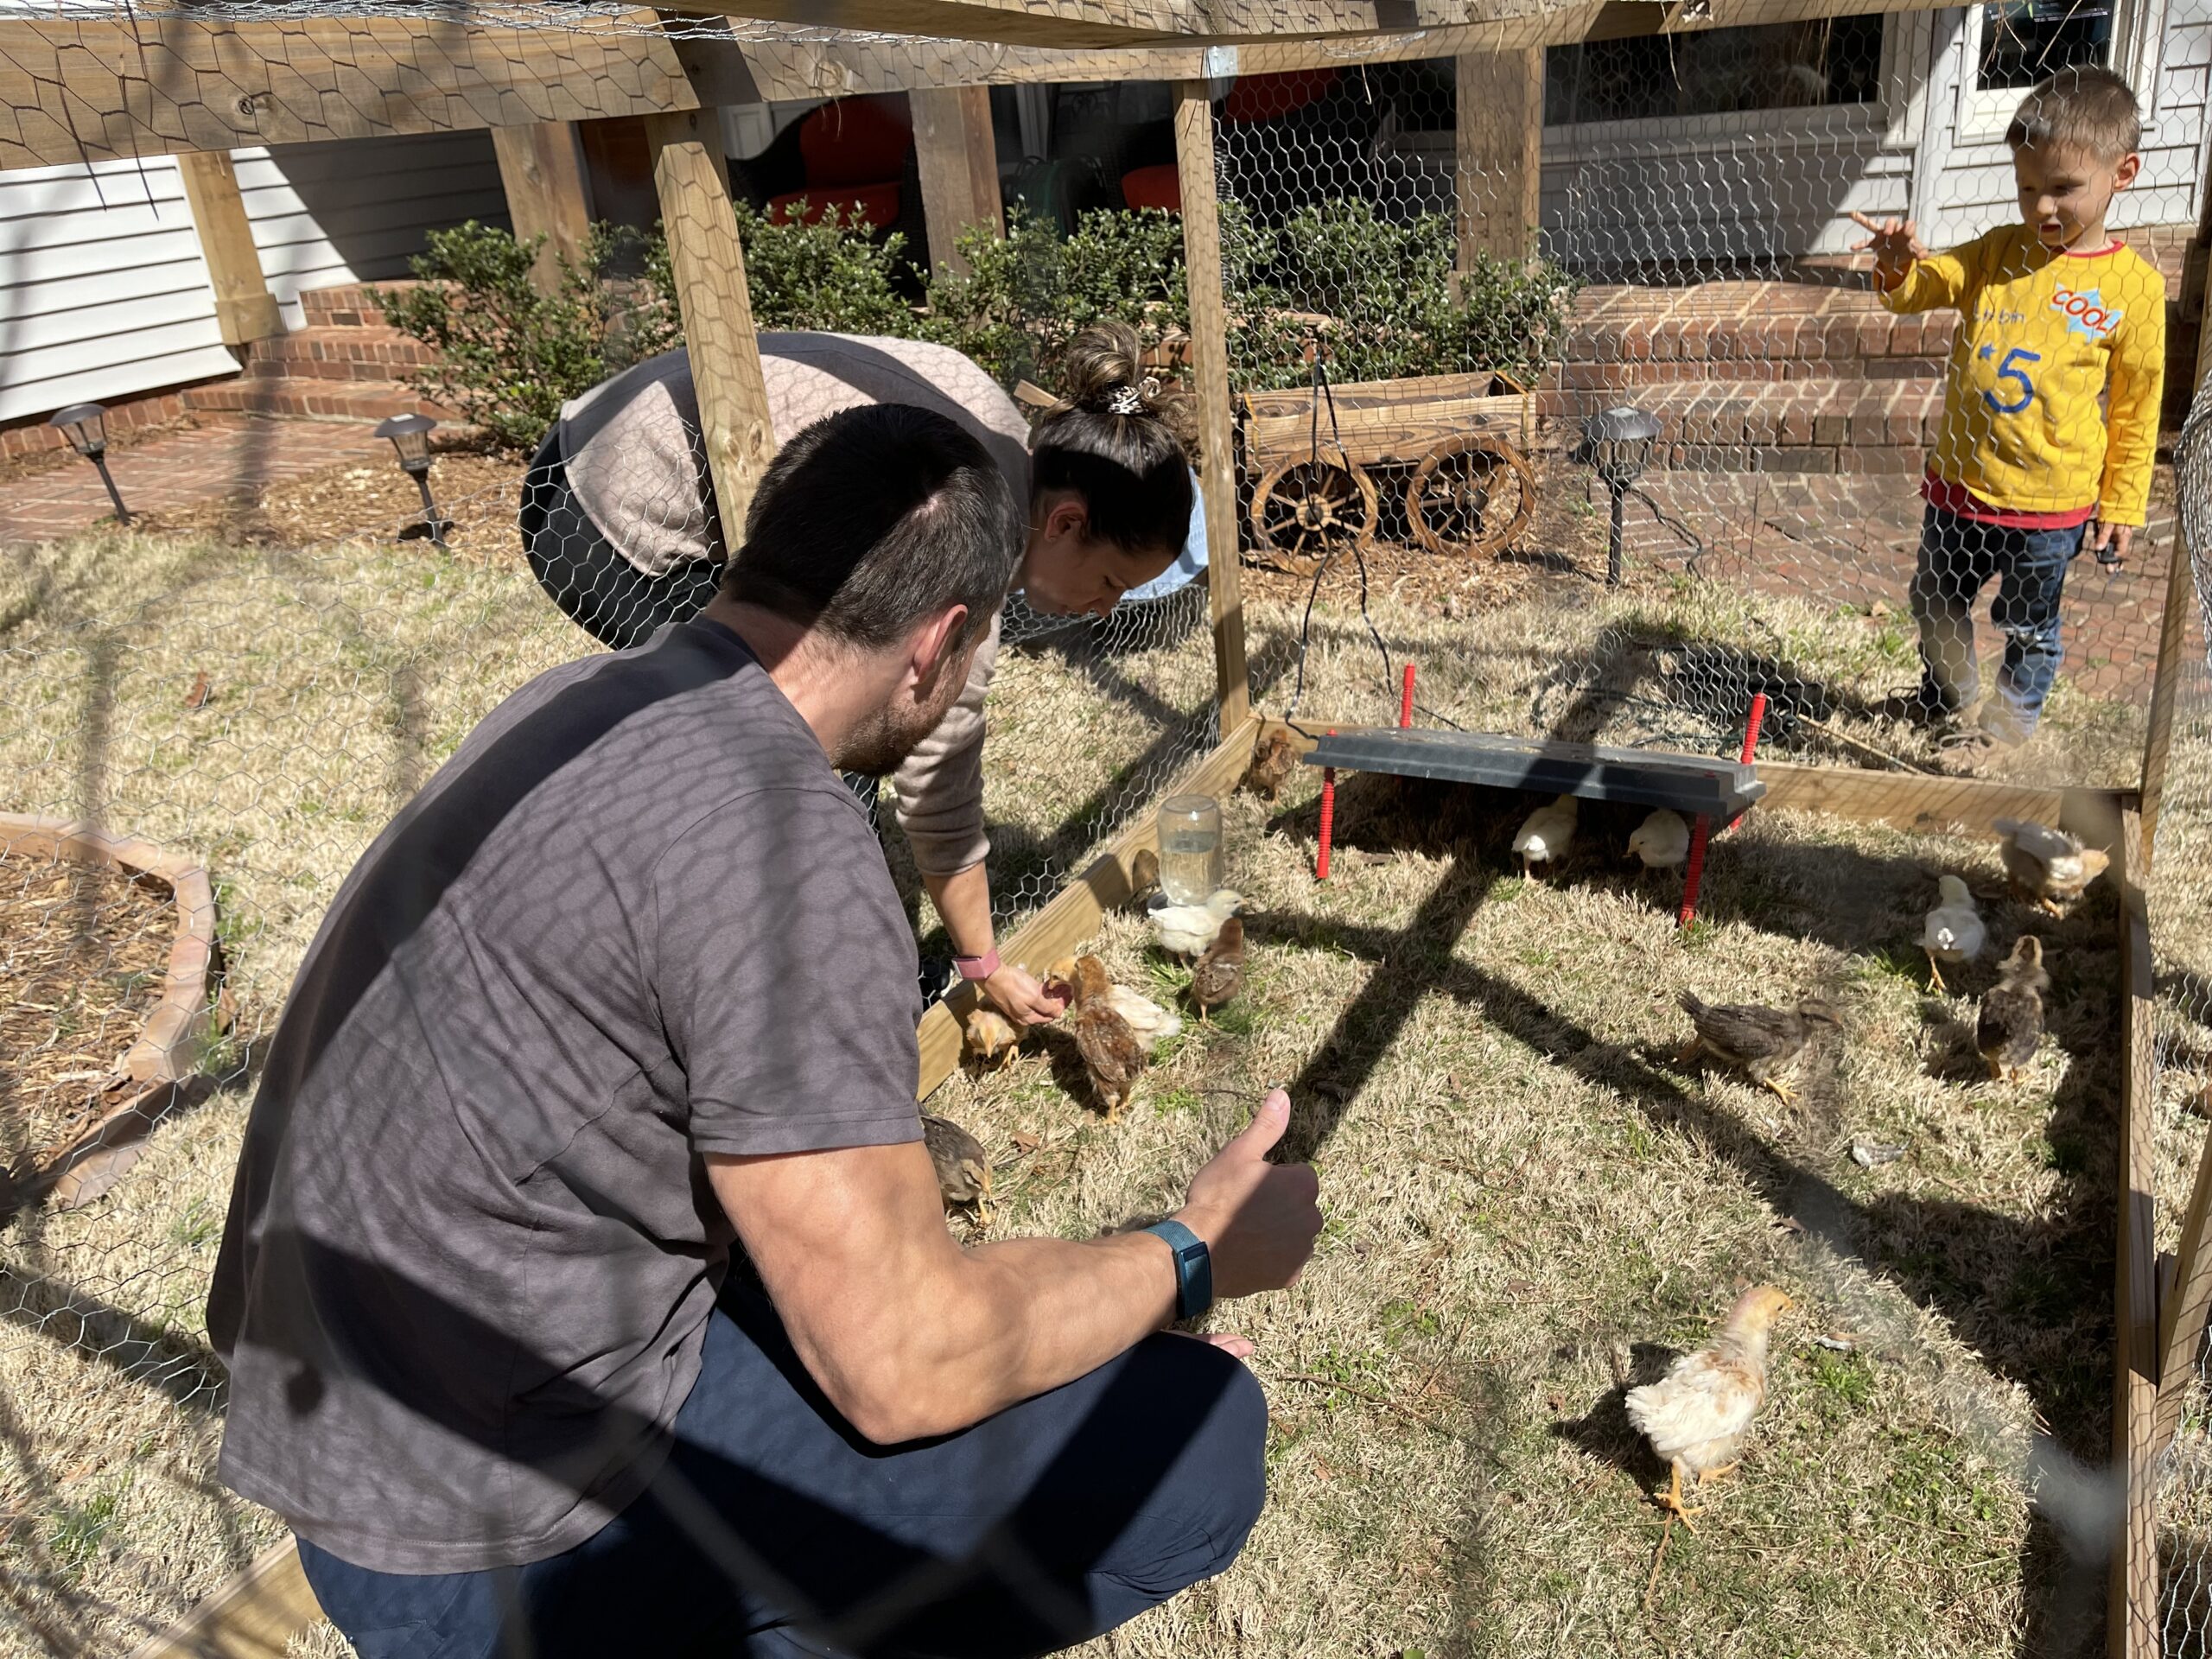
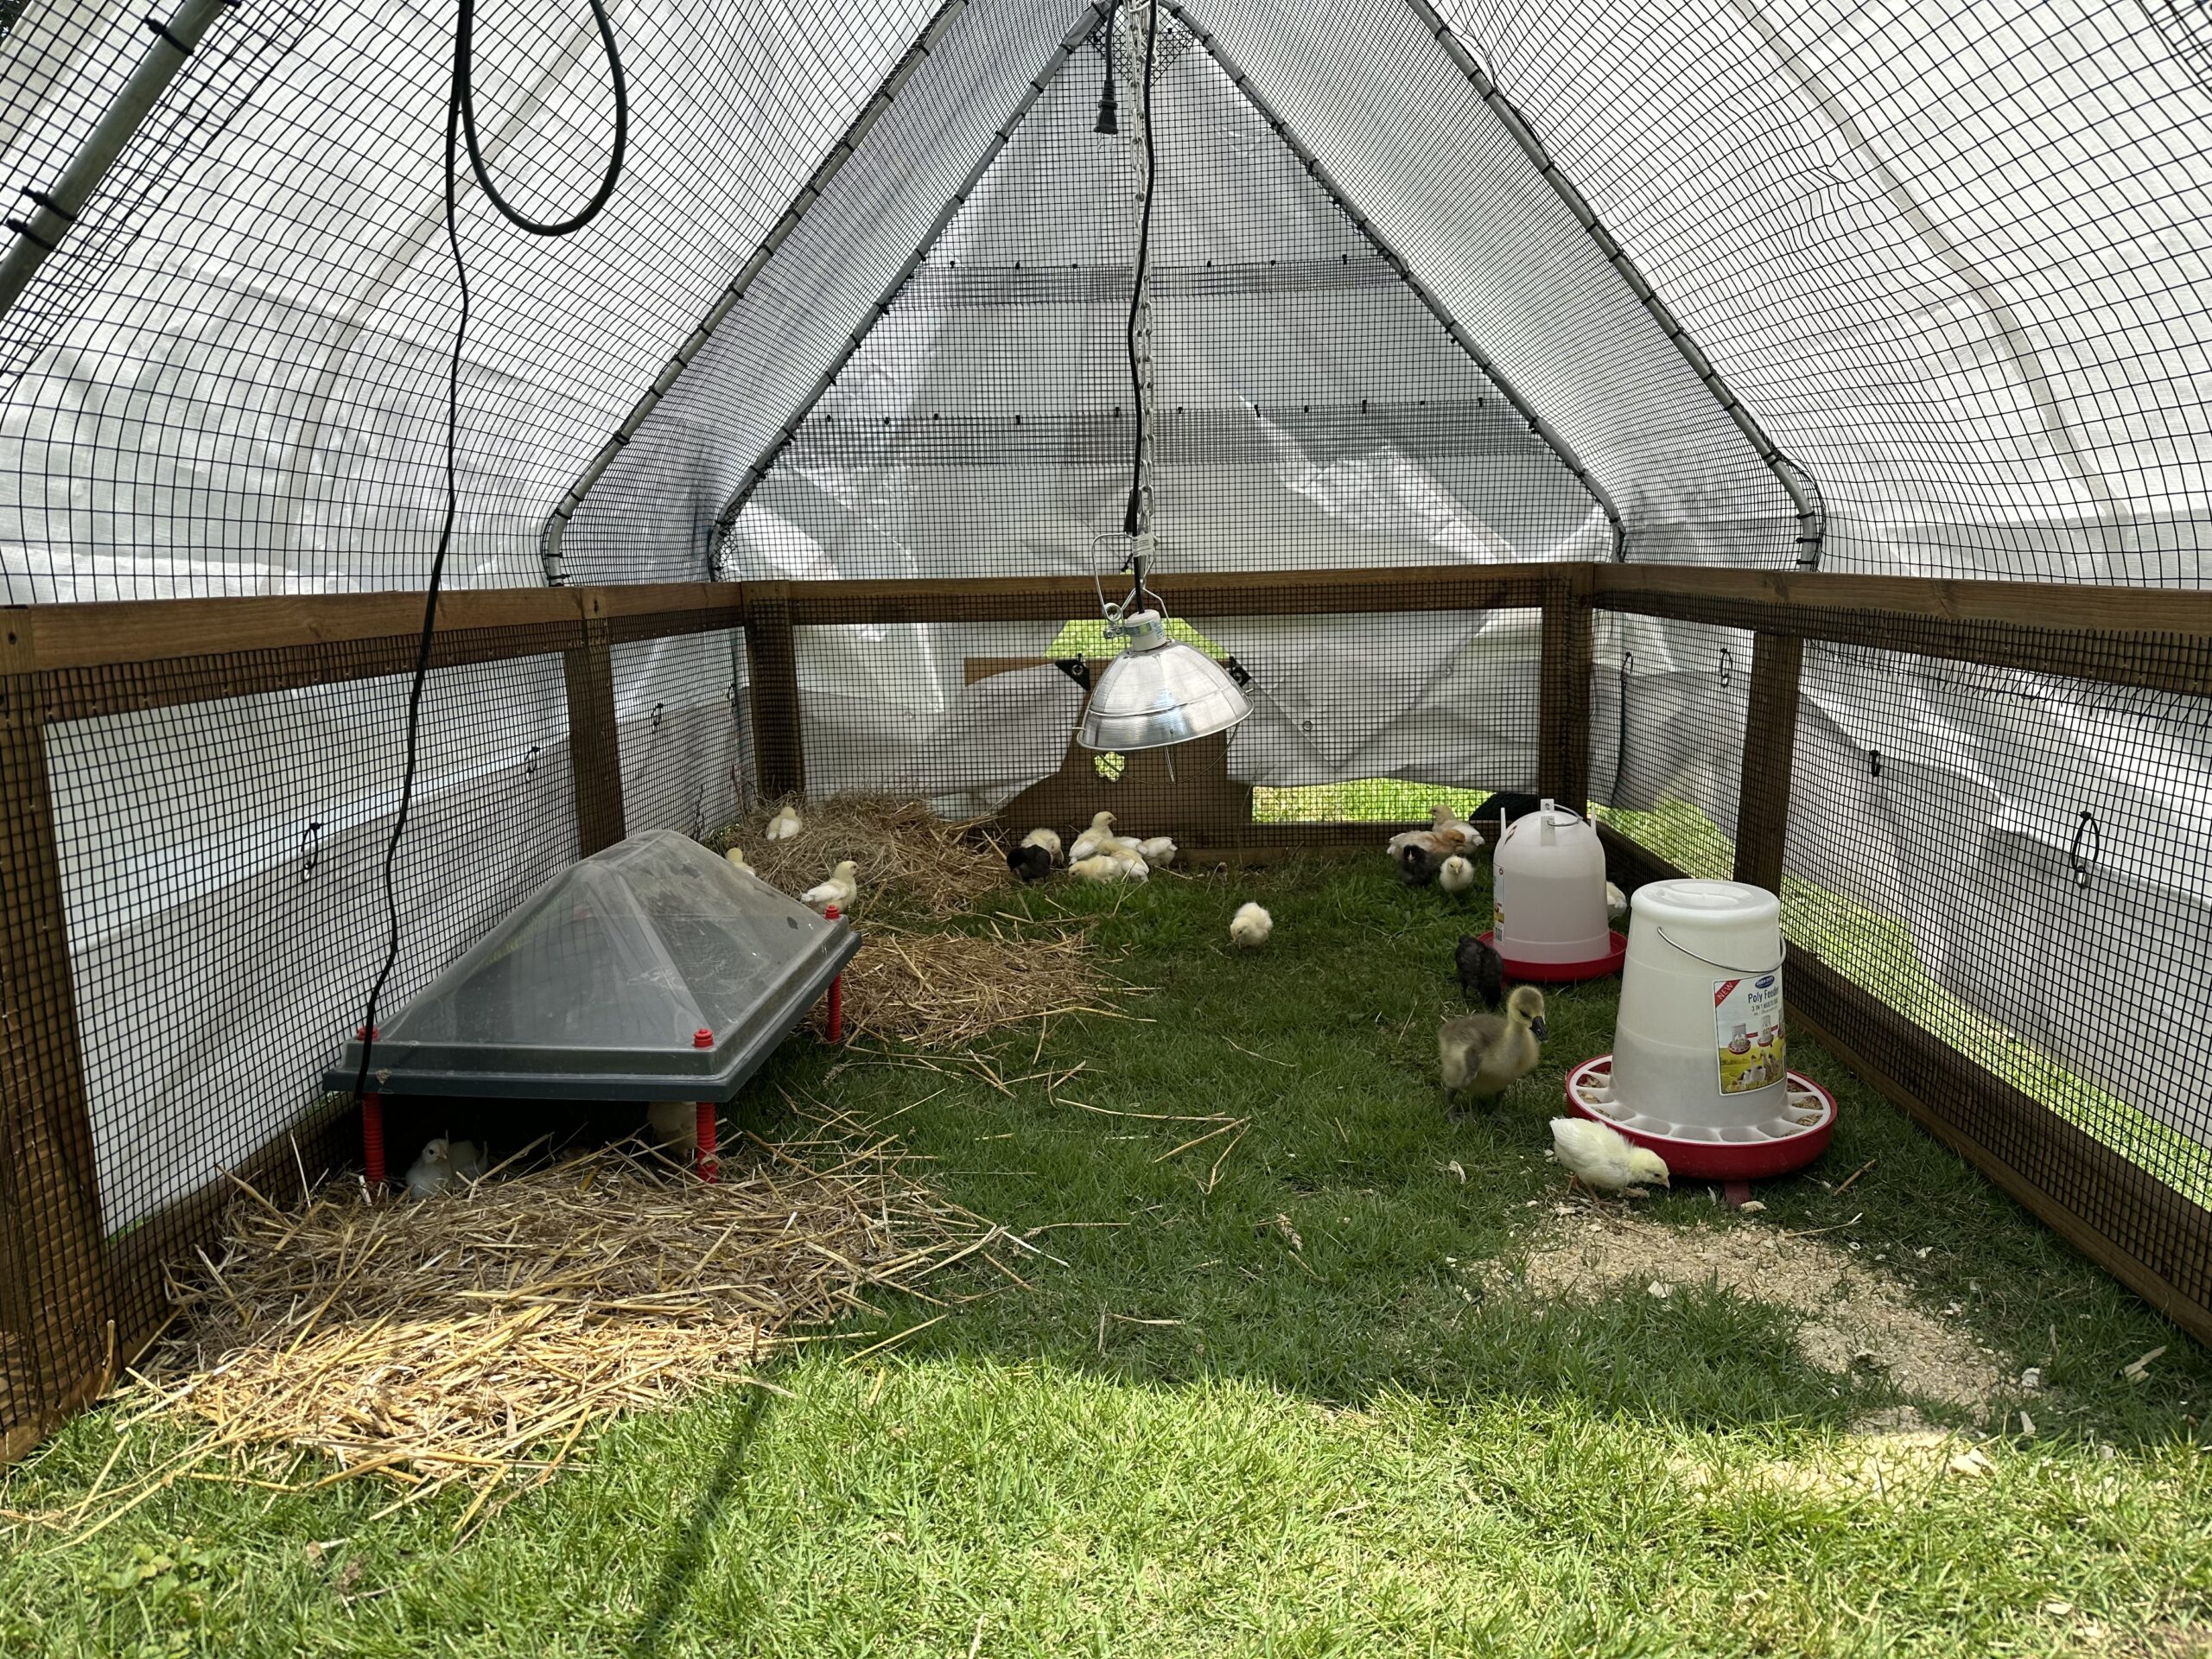
This year, we waited until June to get our new flock of chicks. Since temperatures in Georgia around this time of the year are already relatively warm, we didn’t have to worry too much about keeping our chicks warm. In fact, we moved them daily from the brooder to a chicken tractor in our backyard, and they barely retreated under the heating plate.
2. Breed and age of the chicks
Different breeds and ages of chicks have varying heat requirements. Newly hatched chicks need a warm and consistent environment, while older chicks are better equipped to regulate their body temperature. Smaller and more delicate breeds may benefit from the gentle warmth of a heating plate, while larger and more robust breeds may tolerate the heat from a lamp.
Last time, we decided to raise two goslings together with 25 chicks in the same brooder using a heating lamp for the first two days and then switching to a heating plate. At night, they all huddle up under the heat source to keep each other warm. So don’t worry too much about finding the perfect solution. Most breeds are more robust than you think.
3. Cost considerations
Heating lamps tend to be more affordable upfront, but they consume more electricity over time. On the other hand, heating plates have a higher initial cost but are more energy-efficient in the long run. If you plan on raising a small flock of chicks every year, or live in an area with high electricity costs (or you rely on solar panels for energy), and you don’t have more than one brooder, a heating plate likely provides the better return on your investment in the long run. However, if you plan on raising large flocks using multiple (or large) brooders, heating lamps are likely the better choice.
Best Practices for Brooder Heat Management
Raising backyard chickens in a brooder requires careful attention to heat management to ensure the chicks’ health and well-being.
That’s why we recommend familiarizing yourself with the following heat chart, which illustrates the ideal brooder temperature based on the age of the chicks.
| Chick Age | Ideal Temperature |
|---|---|
| Hatch to 1 week | 95° F (35° C) |
| 1-2 Weeks | 90° F ( 32° C) |
| 2-3 Weeks | 85° F (29° C) |
| 3-4 Weeks | 80° F (27° C) |
| 4-5 Weeks | 75° F (24° C) |
| After five weeks | 70° F (21° C) |
We recommend printing out this table and posting it near your brooder so everyone who helps take care of the chicks will see it and be reminded to check the brooder’s temperature regularly.
Monitoring and maintaining appropriate brooder temperature
Regardless of the heat source chosen, it’s crucial to monitor and maintain the correct temperature in the brooder. For newly hatched chicks, a temperature of around 95 degrees Fahrenheit is recommended, gradually reducing by 5 degrees per week until they are fully feathered.
One of the best ways to measure the temperature underneath the heating lamp or plate is by using a temperature gun. Alternatively, you can also use a wireless (and waterproof) temperature probe. We used a weather station from Eve with our first batch of chicks, but realized that cleaning the poop off it every couple of days wasn’t very efficient.
That’s why we invested in a temperature gun for our second batch of chicks. Keep in mind that temperature regulation is more important in colder climates. If your ambient temperature is somewhere between 80-95 degrees, your main job is to make sure chicks don’t overheat by creating enough distance between the heating source and the brooder floor.
We got our second flock of chicks (and two goslings) in June, and moved them into our chicken tractor in the backyard after only a week in the brooder. Despite the relatively cool temperatures at night (around 65 degrees Fahrenheit), the chicks barely used the heating plate and seemed perfectly content just huddling up with the goslings.
Two years prior, we had the brooder inside the house and the ambient temperature was around 70 degrees. That was way too cold for recently-hatched chicks, so we had to keep a closer eye on the brooder temperature. In that environment, a heat lamp seems more appropriate than a heating plate.
Regardless of the heat source, it’s essential to prioritize the chicks’ comfort and safety.
- Provide adequate space. Ensure there is enough room for chicks to move away from or towards the heat source as needed.
- Ensure proper ventilation. Good airflow helps regulate temperature and prevents excessive moisture buildup. However, make sure your chicks aren’t exposed to cold drafts, as that could make it difficult for them to maintain the proper body temperature.
- Regularly inspect equipment. Check cords, bulbs and heating elements for any signs of wear or damage.
- Leverage an infrared bulb at night. If you choose a heating lamp instead of a plate, we recommend investing in an infrared bulb that doesn’t emit visible light to better support your chicks’ circadian rhythm.
Additionally, we recommend considering adding an uninterruptible power supply (UPS) for your brooder setup to ensure a reliable heat source in the event of a power outage.
Recommended Chick Brooder Heating Plates and Lamps
Here is a list of equipment we’ve had great success with at the Kummer Homestead:
- RentACoop (16″ x 24″) Chick Brooder Heating Plate & Anti-Roost Cone Set
- Woods Clamp Lamp with 10″ Reflector and Bulb Guard
- Rite Farm Products Black 150W 110V Ceramic Heat Emitter Brooder Infrared Lamp Bulb (Amazon)
You can probably also find them at your local farm supply store.
Your heating setup is one of the things you should have in place before your chicks even arrive. They’ll need it immediately, so you don’t to risk your local stores being sold out (which can happen when there are supply chain disruptions).
Heating Lamps vs. Plates: Final Thoughts
Heating lamps and heating plates both have their advantages and disadvantages when it comes to keeping chicks warm in a brooder.
Heating lamps provide a direct and intense source of heat, ensuring that chicks stay warm even in colder temperatures. They are also relatively inexpensive and widely available. However, the risk of fire and burns is a significant concern, and they can create a stressful environment for chicks due to constant bright light and lack of a natural day-night cycle (unless you also invest in an infrared bulb).
On the other hand, heating plates offer a more natural and gentle source of heat, simulating the warmth provided by a mother hen. They promote natural behaviors and reduce the risk of burns and fires. However, heating plates tend to be more expensive and may not provide sufficient heat during extremely cold weather conditions.
When choosing between a heating lamp and a heating plate for your brooder, it’s crucial to consider your individual circumstances and needs. Factors such as the climate in your area, the number of chicks you’re raising, and your level of experience should all be taken into account. Assessing the level of safety, convenience, and cost-effectiveness is essential for a successful brooder setup.
Ultimately, the choice between a heating lamp and a heating plate depends on finding the right balance between warmth, safety, and natural conditions for your chicks. We recommend carefully weighing the pros and cons outlined in this article and making an informed decision based on your specific situation.
By considering these factors and making a well-informed decision, you can create a nurturing environment in your brooder and set your chicks up for a healthy and successful start to their lives on your homestead. Happy chick-raising!

Michael Kummer is a healthy living enthusiast, the founder of MK Supplements and the host of the Primal Shift podcast. His goal is to help people achieve optimal health by bridging the gap between ancestral living and the demands of modern society. He runs the Kummer Homestead with his wife Kathy and their two children.